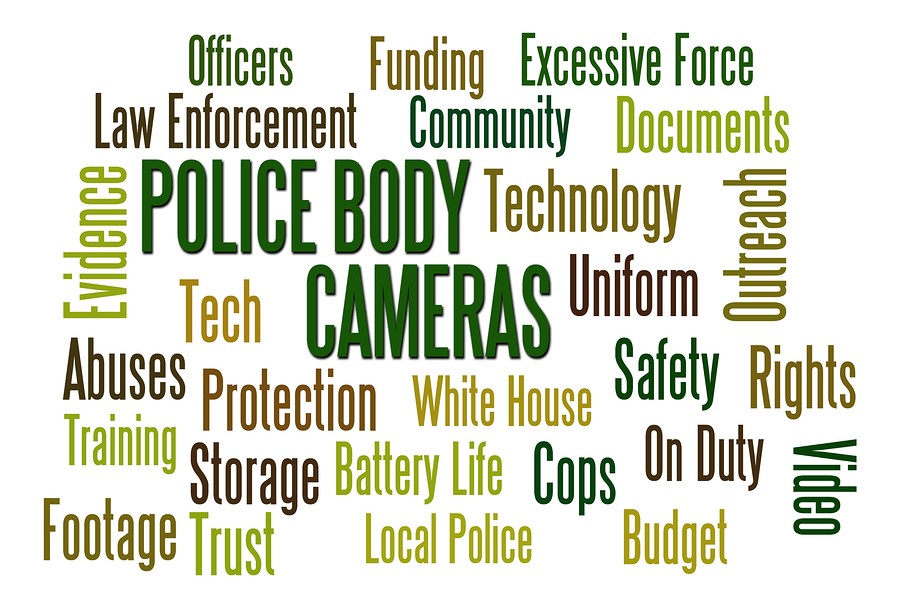
How to Set up an IP-based Surveillance Kit


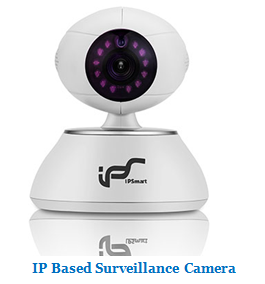
Rapid growth and innovation in the IP-based (“smart”) surveillance camera market has made home security systems more accessible than ever to consumers. Today’s self-installed systems are economical, low maintenance, and scalable in a way professionally installed and monitored systems never were.

Why is DIY So Affordable?
The installation fee for a professionally installed service like ADT or Vivint typically costs around $100 after refunds in the way of rebates. In addition, equipment, like cameras and sensors, is typically more expensive through a professional vendor. Self-installation is more economical. You’re saving $100 automatically, plus you can pick and choose the price point of your equipment.
Self-monitored systems are low-maintenance . They’re designed so that someone without extensive knowledge of IP-based systems can set them up without hassle. If the system malfunctions, the cameras are easy to restart, remove, or replace without the help of a security professional.
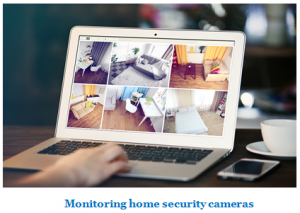
Self-installed systems are completely scalable . Not only does the user have the freedom to arrange cameras and sensors as they’d like (and check viewing angles immediately with monitoring apps), the diversity in self-installed, professionally monitored or self-installed, self-monitored systems gives the user the freedom to choose the level/scale of security he or she prefers.
The Two Types of Self-Installed Security
Self-Installed, Professionally Monitored
Self-installed kits can come with varying levels of professional monitoring, from just emergency services to full-on surveillance. Despite the relative ease of self-installation, fewer consumers choose it over professional installation; providers like Alarm.com, SimpliSafe, Frontpoint, Protect America, and Link Interactive held just 4.7% of market shares in 2015.
Self-Installed, Self-Monitored
Self-installed and monitored security systems made up the smallest percentage of smart home security market shares in 2015 – just 2.3%. These deconstructed, do-it-yourself cameras and sensors include Google Nest, Apple HomeKit, and Scout. Because DIY kits are economical, easy, and appeal to those who would otherwise never buy a professional security system, industry insiders predict they will be the next big thing in home security.
Configuring the System
Both professionally and self-monitored systems need to be configured to your online network before they are operational. Configuring smart security devices is relatively foolproof.
- Ensure your device is plugged in to a power source or that the battery is fully charged.
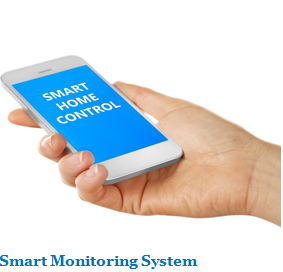
- If you’re using a self-monitored system (Nest, HomeKit, Scout), download your provider’s mobile monitoring app. If necessary, sign up for an account.
- Turn on the device and use an Ethernet cable or Wi-Fi Protected Setup (WPS) to connect it to the internet.
- If you’re using a self-monitored system, open the app. It should find your security devices on the network.
- If you’re using a professionally monitored system, use a smart phone or connected computer to log in to your provider’s website. Add your security devices to your account.
Installing the Equipment
Usually, installing smart security devices doesn’t even require a toolbox since control panels, cameras, sensors, and panic buttons include adhesive strips.
- Adhere your control panel just inside the front door.
- Use your app to check the viewing angles of self-monitored cameras during set up.
- Attach the sensor on a door or window frame and the corresponding magnet parallel to it, on the closed door or window.
- Attach panic buttons where they will be most convenient – beside the bed, for example.
At the end of the proverbial day, you have to follow the direction indicated by the manufacturer to have a successful installation. And yes, before going live, make sure you conduct testing to make sure it works.